How to Choose the Right Lawn Mower Parts?
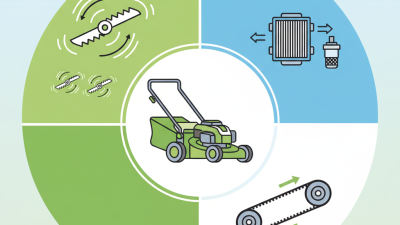
Choosing the right Lawn Mower Parts can restore a clean cut, reduce strain on the engine, and help prevent small faults from becoming costly repairs. Yet a part that looks correct may not fit your mower. A blade’s length, mounting hole, and shape matter. So do the machine’s make, model, and serial number.
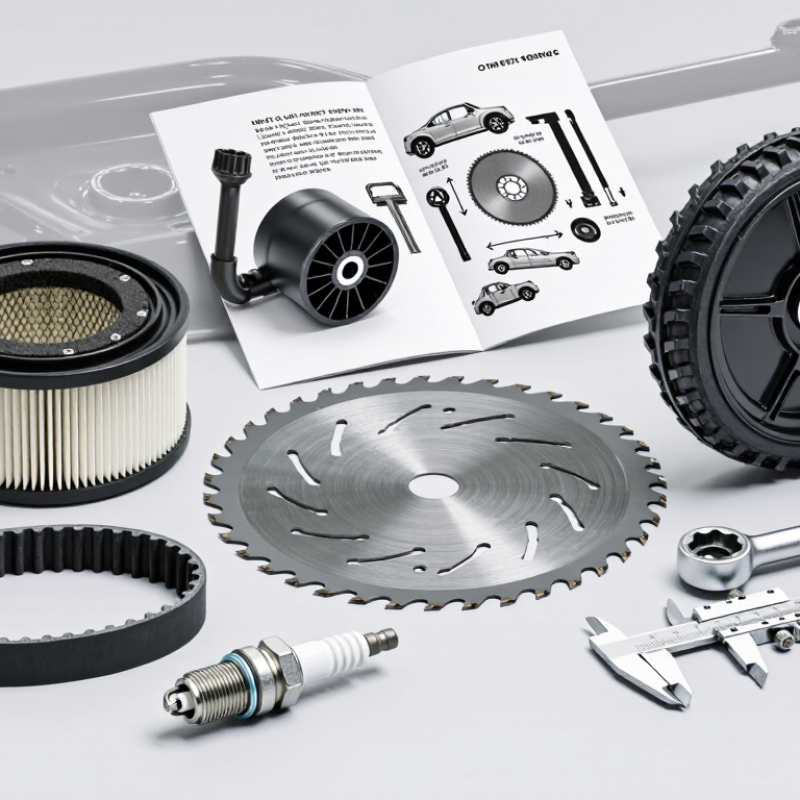
Begin with the identification label, often found on the mower deck or frame. Check the owner’s manual or a manufacturer parts diagram before ordering. Compare the part number, dimensions, connector style, and mounting points. A clear photo of the old component can help, but it should not replace a fit check. Small differences count. Belts, air filters, spark plugs, wheels, and blades each have specific requirements.
Quality and condition deserve equal attention. Genuine manufacturer parts can make compatibility easier to verify, while reputable aftermarket options may suit some models. Look for clear specifications, warranty details, and a seller that identifies compatible machines. Avoid guessing from appearance alone. A dull blade, cracked belt, or clogged filter may point to wear, but other faults can create similar symptoms. That uncertainty is easy to overlook.
Before replacing anything, switch off the mower and follow its manual, including guidance for disconnecting the spark plug where applicable. If a repair involves unfamiliar systems or the fit remains unclear, ask a qualified technician. Careful checking takes a little time. It can save a second order, though no guide can eliminate every mismatch. Start with accurate mower details, then choose parts that match both the machine and the job.
Identify Your Lawn Mower Type, Model, and Part Number
Before ordering a replacement, identify the mower type: walk-behind, riding, or zero-turn. Then record the manufacturer, model, and serial number from the deck frame or engine label. Battery and gas models can share similar names but use different blades, belts, filters, or electrical connectors. Small details matter. Take a clear photo of the label; dirt and fading can make a 3 look like an 8.
Search the parts diagram for the exact model, then compare the listed part number with the old component. Check blade length, belt profile, mounting-hole spacing, and connector shape. A part that almost fits may still be unsafe or wear quickly.
The U.S. Consumer Product Safety Commission’s NEISS technical documentation describes a national sample of 96 emergency departments used to track product-related injuries. It is not a parts guide, but it underscores why correct fit and safe reassembly deserve care.
Don’t guess. If the label is unreadable, verify the engine code or ask a qualified repair shop to confirm the match. Even official diagrams can be confusing when a model has several production versions, so pause and double-check before buying.
Determine Which Component Needs Replacement
Before ordering a replacement, match the symptom to the part. Park the mower on level ground, switch it off, and let hot components cool. Disconnect the spark plug wire on a gas mower, or remove the battery on an electric model. Look closely. A ragged cut may point to a dull blade, while a bent blade can cause strong vibration. It is easy to blame the blade too quickly; a loose mounting point can create similar shaking. Never reach beneath the deck to inspect it. Check the owner’s manual for safe inspection steps and the correct part number.
A mower that loses power may have a clogged air filter, but a dirty spark plug or blocked cooling area can cause similar trouble. Inspect the filter for packed dust and grass, and check the plug for heavy deposits or damage. A slipping drive belt may leave the engine running while the wheels barely move; look for cracks, fraying, or looseness, following the manual’s instructions. Do not guess. Clean loose debris and repeat the check before buying parts, if it is safe to do so. Some symptoms overlap, and I would reconsider a diagnosis if the replacement part does not address the cause.
Check Part Compatibility with Your Mower
A mower part can look right and still fail to fit. Check the mower’s model and serial numbers in its manual or on its identification plate. Use those details to confirm the exact part number, rather than relying on a product photo.
Small differences matter. A blade may have the right length but the wrong center hole or mounting pattern. A belt can look similar yet differ in width or routing.
Compare the part’s measurements and specifications with the old component before ordering. For blades, check length, hole shape, and rotation direction. For belts, note the belt path and width; for filters, compare the shape and sealing edge. A quick visual match can feel convincing, but it is not proof. I would also check whether the part fits your mower’s specific deck or engine configuration, since one model can have variations.
If the manual is unclear, contact a qualified repair professional with the mower’s identification details. Keep the engine off and disconnect the spark plug wire before inspecting or removing parts. Measuring twice is a small step, and it can prevent a frustrating return.
Compare Part Materials, Quality, and Specifications
How to Choose the Right Lawn Mower Parts?
Compare Part Materials, Quality, and Specifications
The right replacement part should match your mower’s model and intended use. Check the manual or the part number on the old component before buying. Materials matter, but heavier does not always mean better. A steel blade may resist impact well, while a lighter alloy part can reduce weight. For outdoor use, look for corrosion-resistant finishes, especially on exposed fasteners and brackets. Fit comes first.
Quality shows in the details. Check for clean edges, even coatings, secure joints, and dimensions that match the original part. A belt that is slightly too long may slip; a blade with the wrong mounting pattern may not seat safely. Compare specifications such as length, width, thickness, hole spacing, and voltage where relevant. It is easy to overlook one small measurement. Even careful checks can miss a detail, so verify the part against the mower manual before installation.
Tips: Photograph the old part before removal, and keep its washers and spacers in order. Disconnect the spark plug wire or battery before inspecting moving components. If measurements conflict with the manual, pause and confirm compatibility rather than forcing the fit.
Confirm Fitment and Installation Requirements
How to Choose the Right Lawn Mower Parts?
Confirm Fitment and Installation Requirements
A part that looks right can still fit poorly. Match the mower’s model and serial numbers, then check the parts diagram for the exact part number. Measure blade length, center-hole shape, and mounting-hole spacing; a few millimeters can matter. For belts, compare width and routing, not just overall length.
The U.S. Consumer Product Safety Commission’s National Electronic Injury Surveillance System estimates record lawn-mower injuries treated in emergency departments, with annual totals in the tens of thousands. The totals vary by year, but they underline why secure, correct installation matters.
Before ordering, read the service manual for torque values, fastener direction, and any required adapters. ANSI/OPEI B71.1, the safety standard for consumer lawn mowers, sets design and safety requirements; it does not confirm that a replacement part fits your specific machine. That detail is easy to miss.
Disconnect the spark-plug wire before working near blades, and use the specified hardware rather than a close substitute. After installation, rotate moving parts by hand where the manual allows, check for rubbing, then test briefly in a clear area. I have seen “nearly identical” parts cause extra vibration; it is worth checking twice.
A dealer or qualified repair technician can verify uncertain fitment from the model plate and parts breakdown.